Visual Note Taking Basics
Quick Summary: Visual note taking is one of many fantastic tools for seeing your thoughts more clearly (especially if you’re a kaleidoscopic thinker!) This article covers the tools you can use, how to make a visual library and how to plan ahead with journey templates.
This will take around 6 minutes to read
There is such a huge range of pictures that pop into people’s minds when they think of visual note taking.
You may have seen professional graphic recorders at conferences upfront with a big piece of white paper. While the people on the stage are speaking and teaching, they are graphically drawing out what's said so it makes a cohesive work of art. Or maybe you think of that kid in their school who took the prettiest class notes with doodles and color coded numbered lists.
Ultimately, these visual notes serve the same purpose - giving those who use them an organized way to see the information they need in a way that helps them remember and take action.
“Visual notes give those who use them an organized way to see the information they need in a way that helps them remember and take action.”
I have found that visual note-taking is helpful for:
Making big decisions
Onboarding a new client
A big moment in your signature process where everyone really needs to understand what's going on
Working through ideas to pick a next best step
You can bring in an expert graphic facilitator or if you're low on funds right now, or it's a part of the process where you just want to provide an quick accommodation because you have a kaleidoscopic thinker or a visual processing client you can use the pointers from this article.
The Tools:
*starred items are the ones I personally use although all of these options are good ones and I walk through most of them in the visual note-taking mini lesson.

Some other online options to checkout: Obsidian, Craft, Mural, Miro, Roam Research, Dropbox Paper, Notion, Pitch
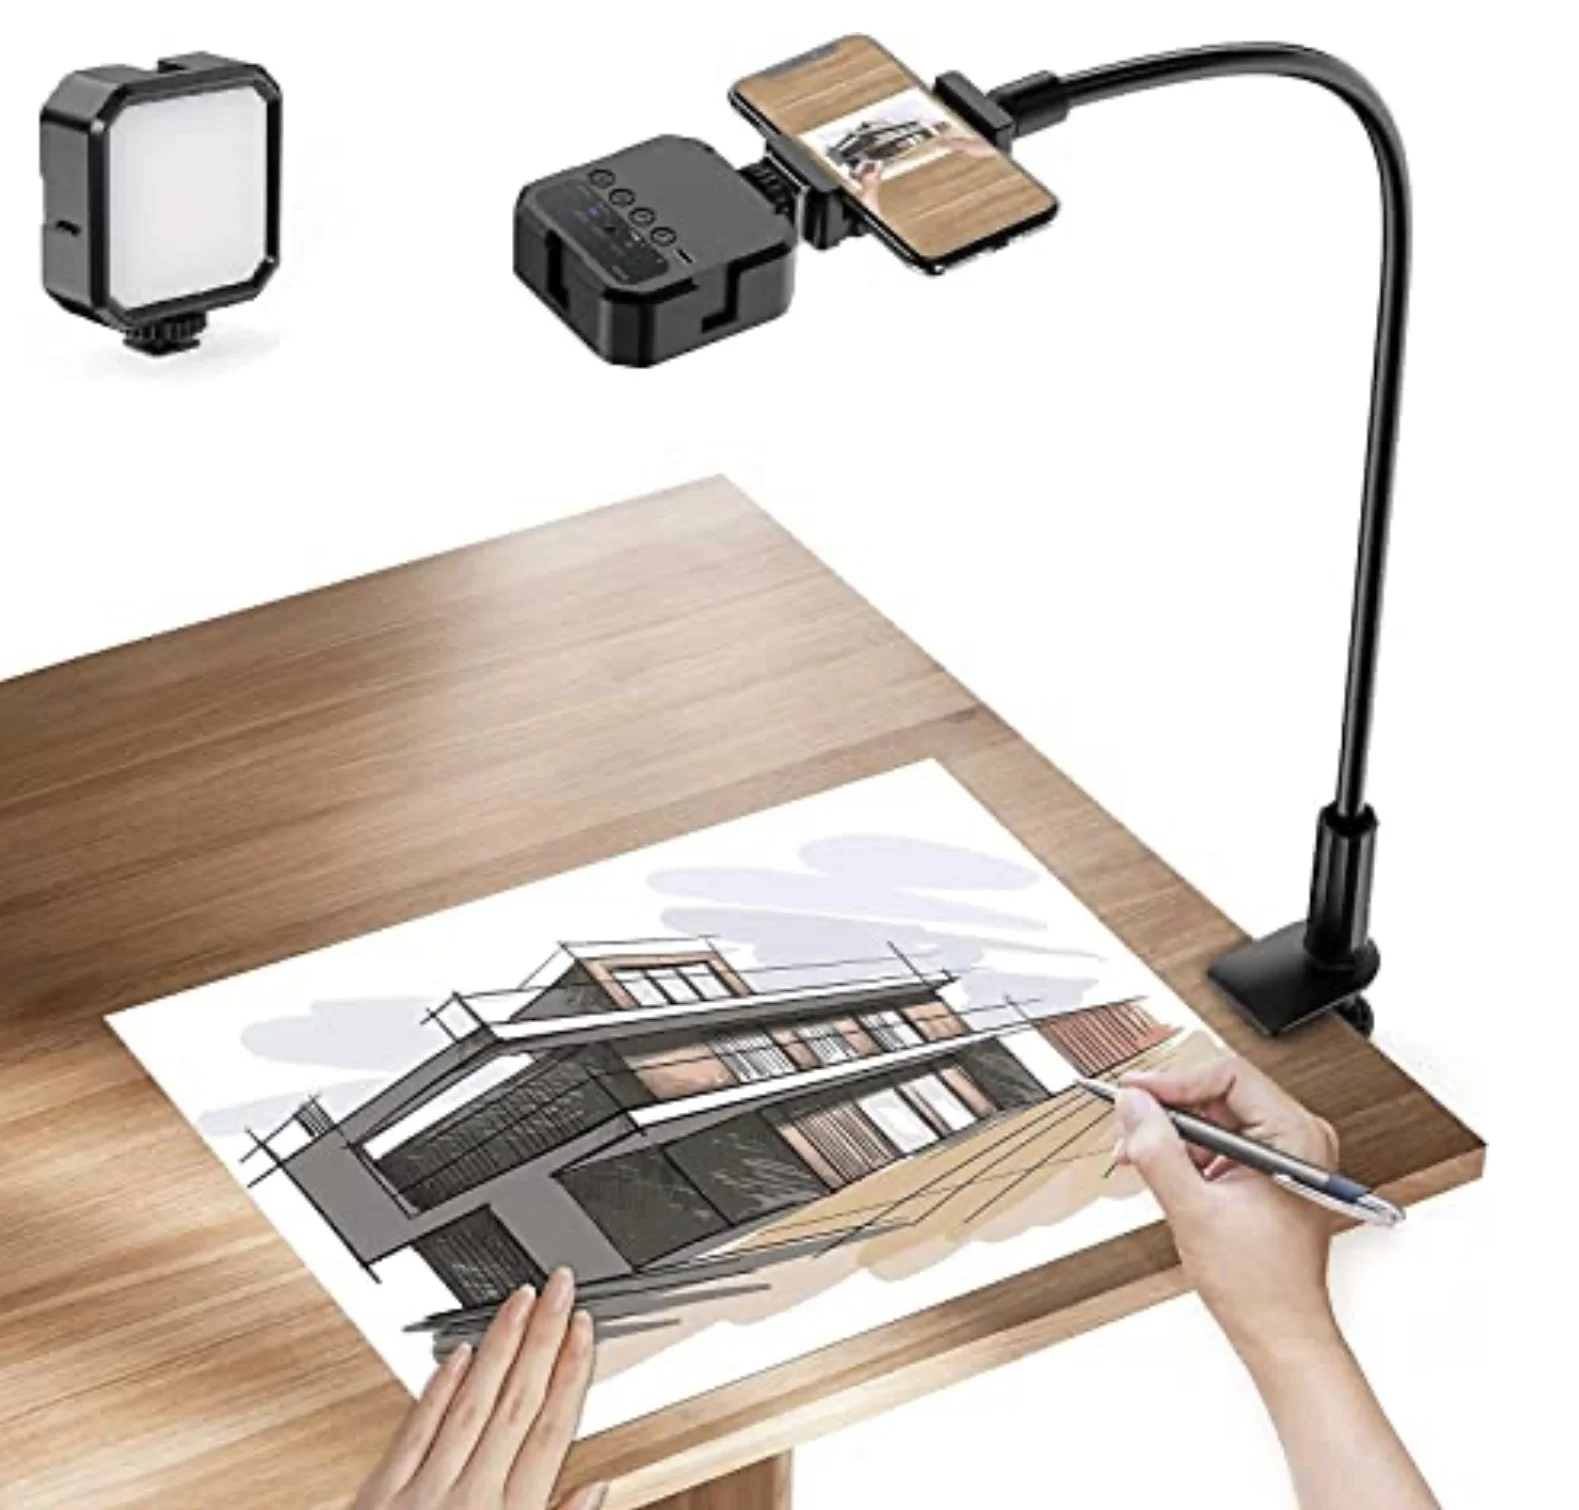
Recording Tools:
I use a phone stand attached to my desk to record my visual notes. I log into Zoom from the phone and also on my computer (so I show up as 2 people in the meeting through the same account) and turn off meeting audio on the phone one (that way you don’t have loud feedback sounds). The phone looks down and records my notes and the computer records my face so everyone in the meeting can see me and I can interact with them as if I’m in the room. I do the actual drawing on my iPad Pro (so yes I have three devices going at once) and open the Procreate app to draw in.
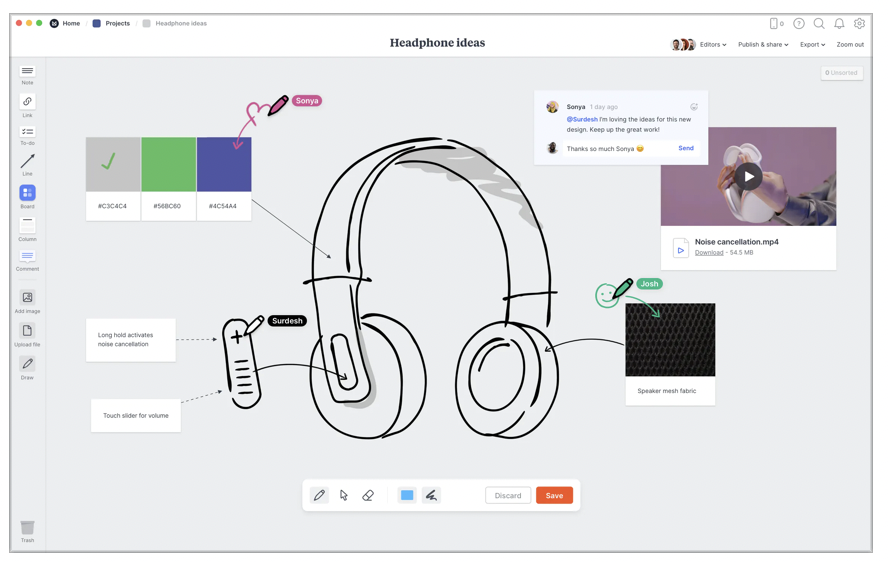
I usually have a welcome screen drawn on Procreate already so when people sign on it’s not just a blank screen. The video below shows an example of the welcome image (on the right) and the visual note taking (on the left) with a follow up activity (in the middle).
Want to go pro?
A great article for those pursuing full time graphic facilitiation/recording is this article by Christopher Fuller, CEO of Griot’s Eye. He has wonderful tools, resources and learning paths to take to go pro.
The Icon Library
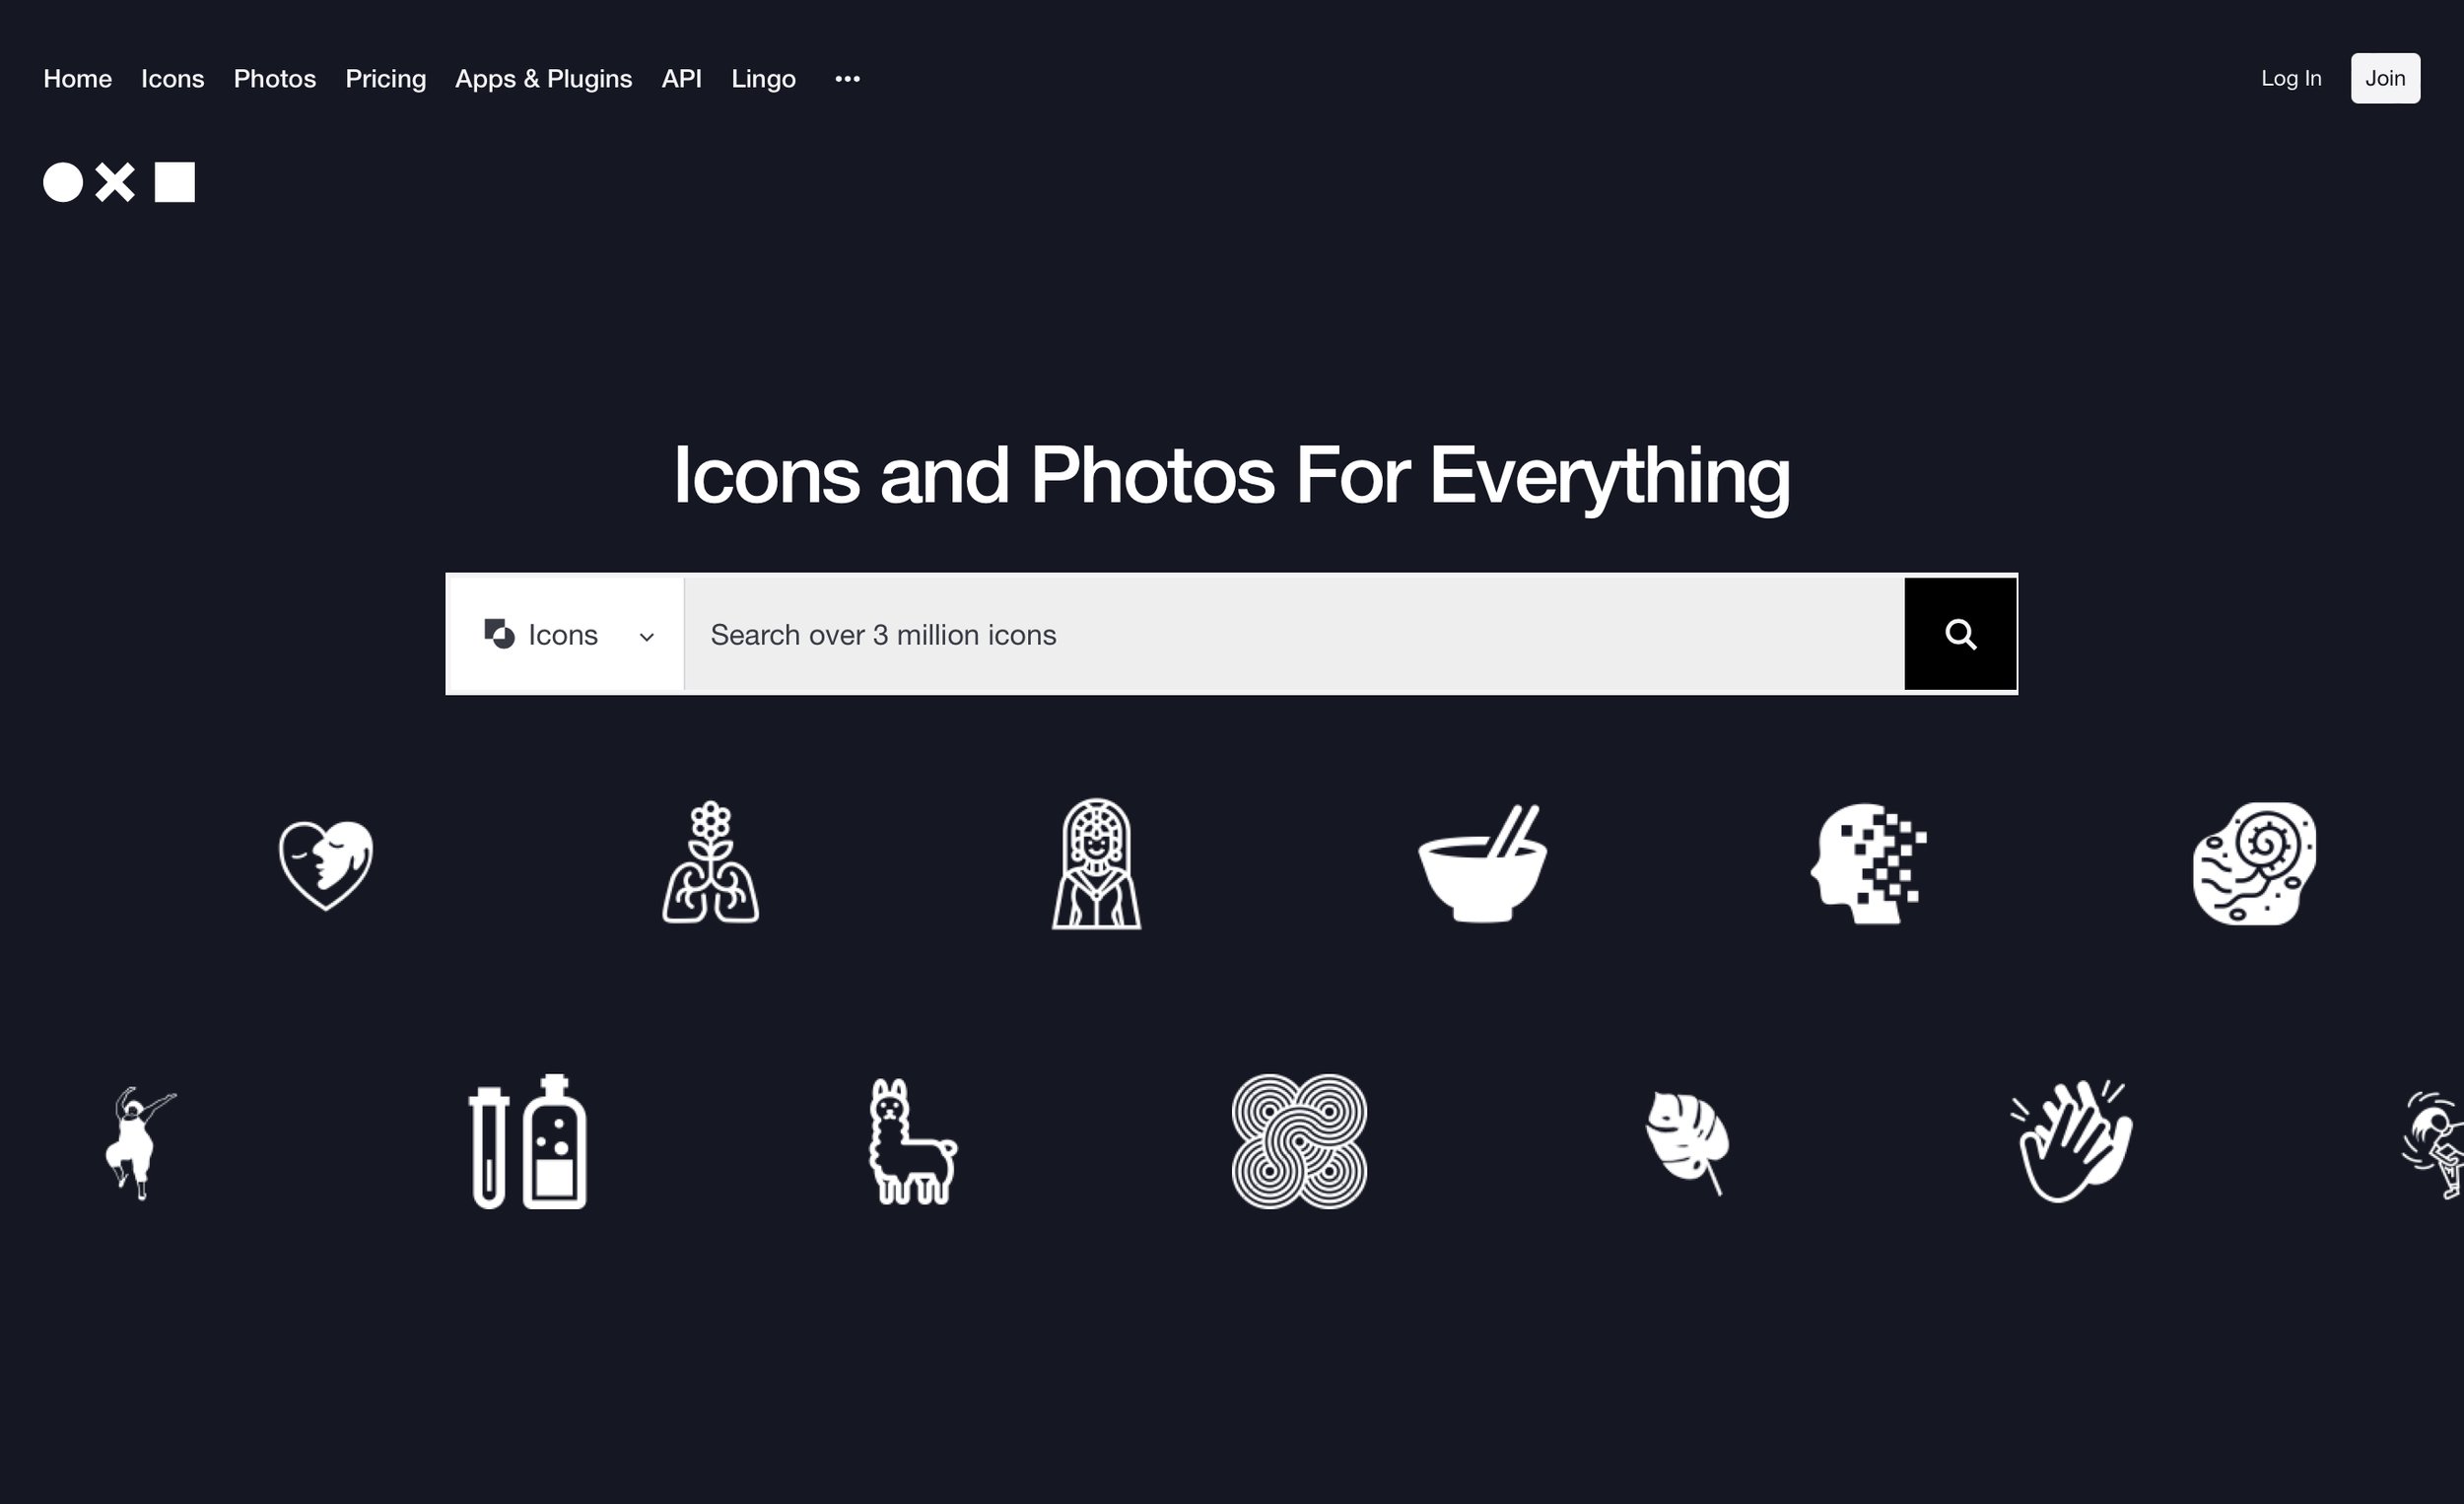
My favorite tip for getting started creating an icon library is to visit The Noun Project and start typing in words you use often in your meetings (or with yourself) so you can practice those icons to use later. You can also save them in your presentation software and pull them up on the screen during a meeting.
How to Practice
There are a few ways to practice drawing icons and they are all equally valid.
Tracing: print out or save an image to your drawing app. Put a piece of paper or another layer over the symbol. Then trace it. Trace it as many times as you need to to get a feel for how to draw it.
Looking and drawing: Look at the symbol and start drawing what you see. Start with the biggest pieces and then add the detail.
Finding the shapes: You can simplify the symbol further by finding the shapes that make it up.
The video below shows how to do these steps with a quick screen share:
Building A Template
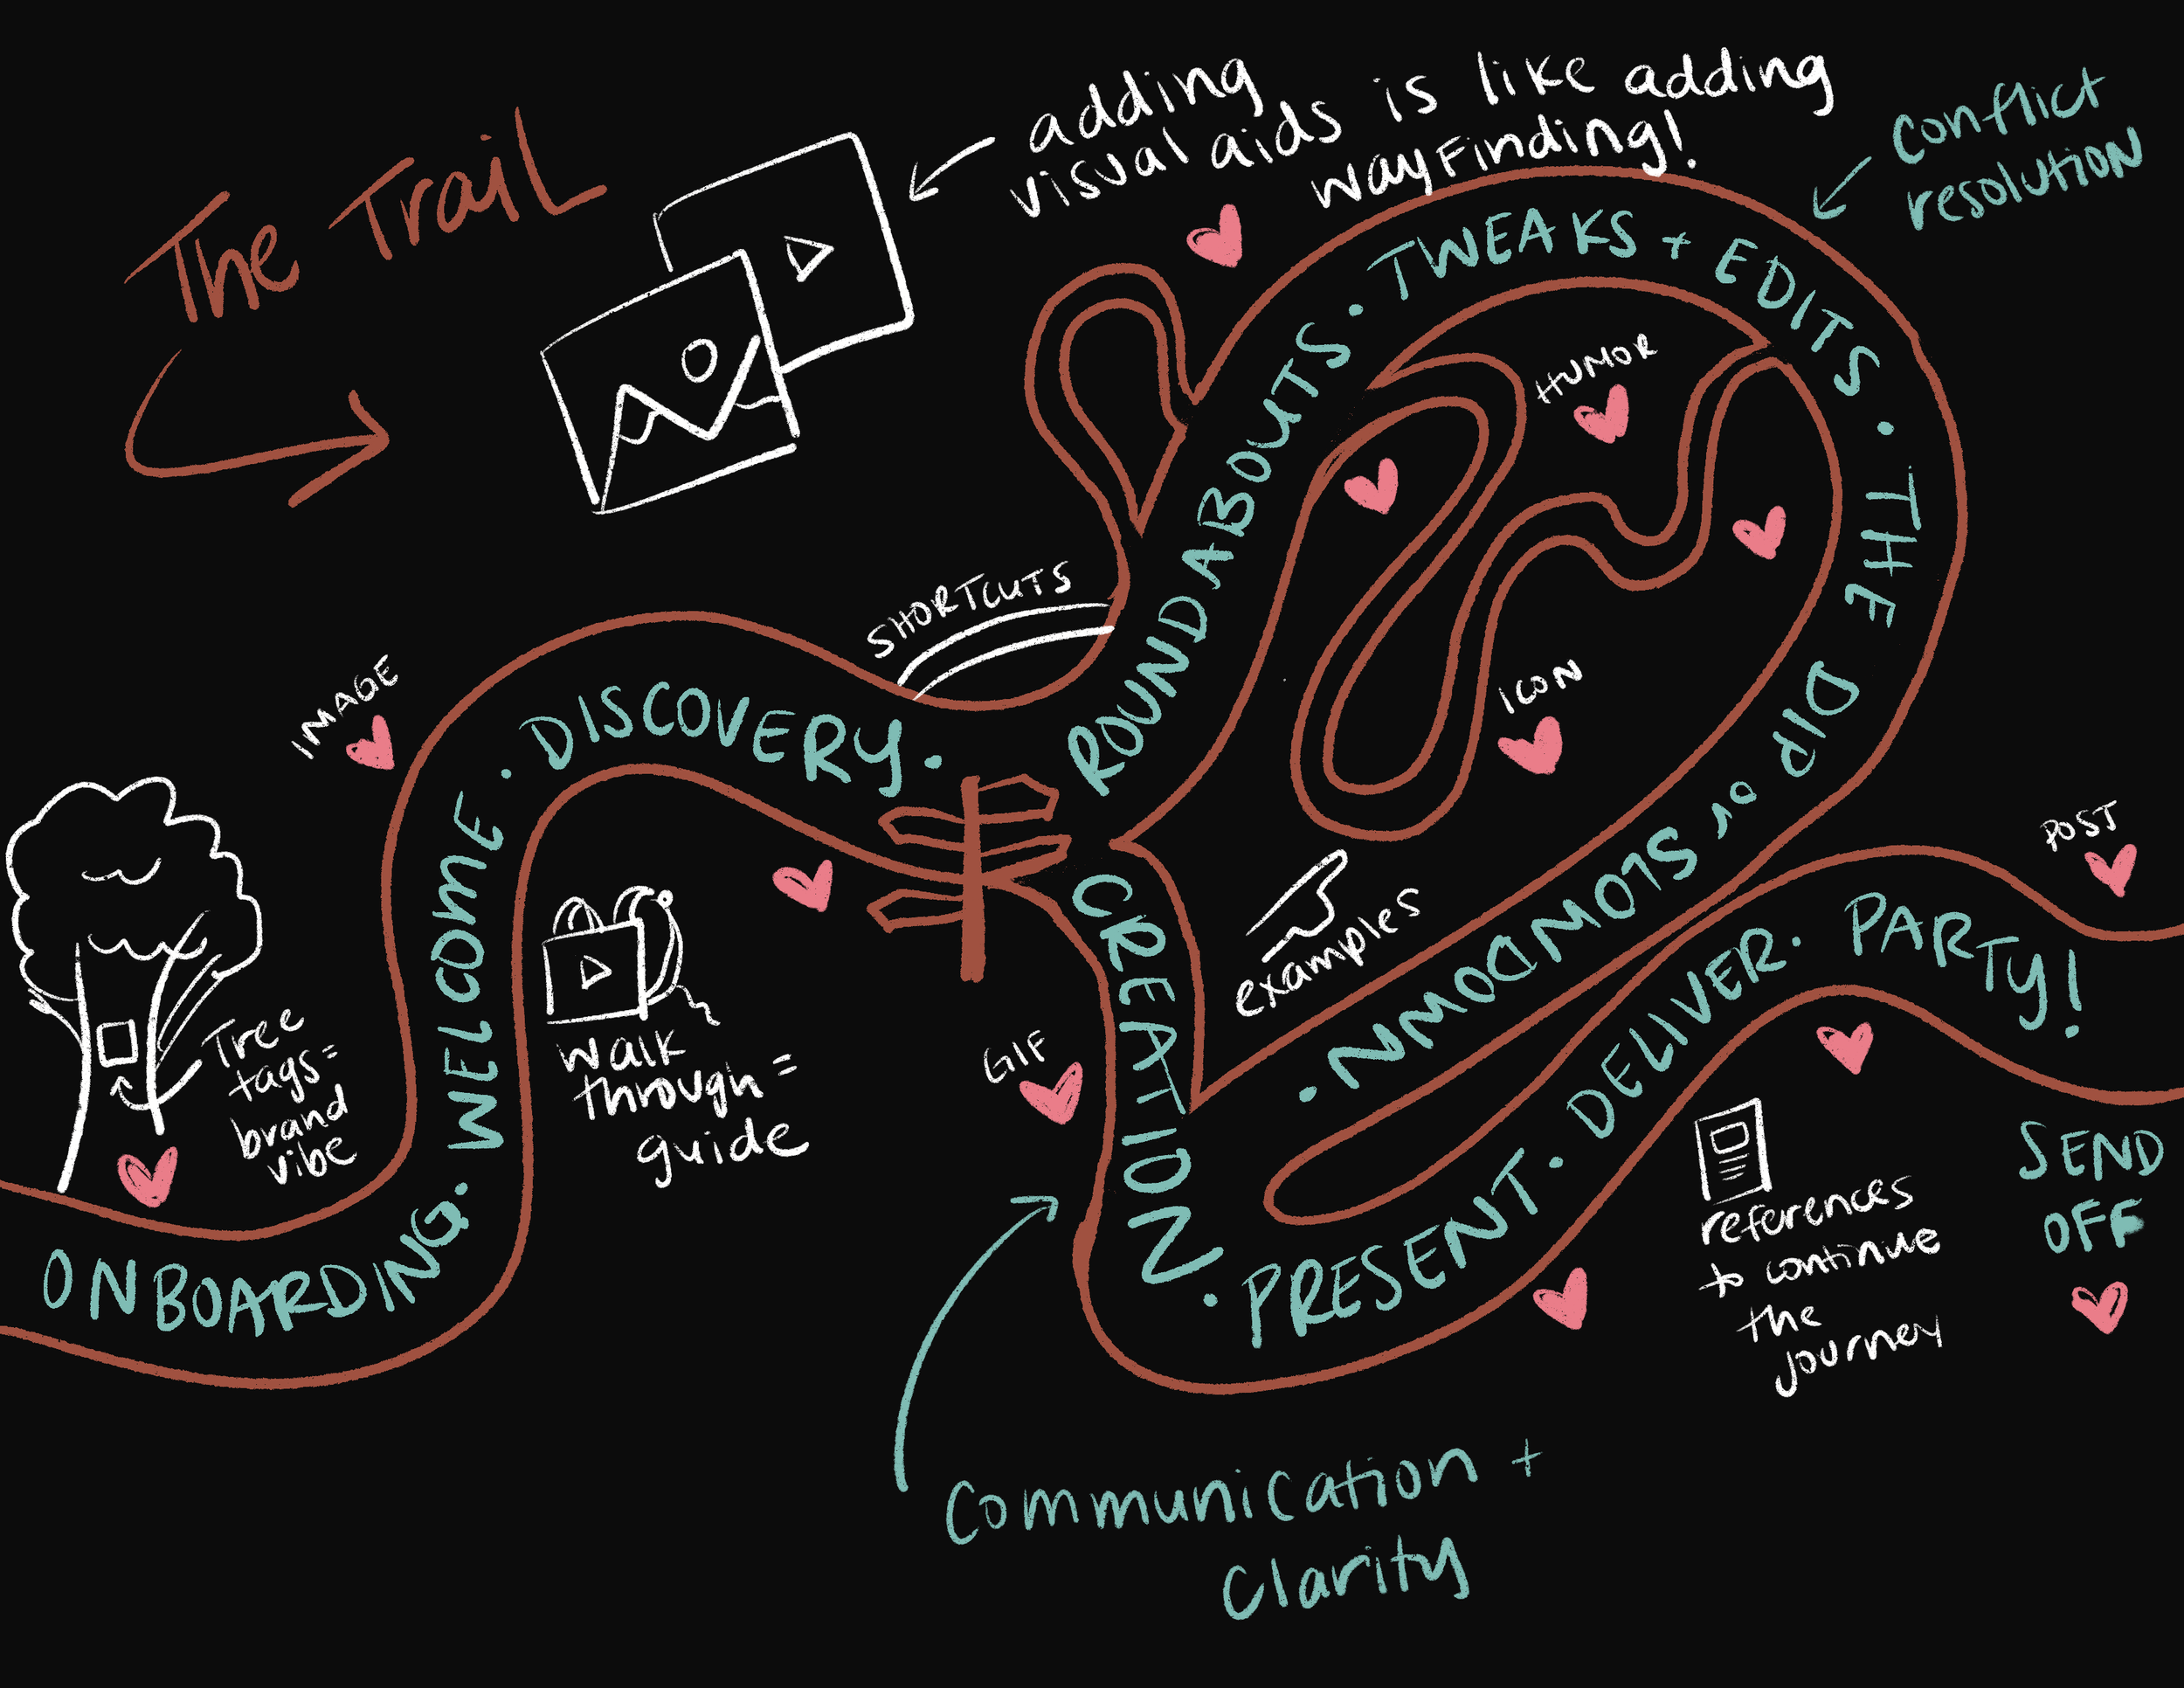
For Group Dig Sessions I created a hiking trail template (above) that I work through with attendees to discover where along the journey they need to add wayfinding.
If you are doing visual note-taking for yourself, then you don’t need a template, just let your mind flow and go to work. If you want to see some good starting points here is a great website with all the different kinds of pre-made thought charts.
Now, if you want to provide this for a client I’d recommend either hiring a professional or creating some pre-made templates that you can work within. Here are the basic steps for creating a template:
Find the themes. Think through what you talk about most and what kind of meetings this template would be used in.
Create an analogy or framework. An analogy would be like the example above where I use hiking as an analogy for the client experience. A framework would be a specific order/process to use in your visual note taking and would most likely match your signature framework.
Practice a few times. Practice this just like you did with the icon library or create one you can fill in again and again.
Save it somewhere you can access it to use with clients.
Once you figure out the framework that you’ll be presenting you can either draw it live in the meeting or present a pre-made “empty/blank” template to fill in with the client. The pre-made template would be in the background and the writing/drawing/typing would happen overtop of it.
I go into more depth in the Visual Note Taking Mini Lesson about how to actually create the templates within the tools listed above.
I’d love to hear how this information worked for you! Visual note taking is such a helpful tool for visual thinkers and can really support those days when our brains feel way too full. Feel free to reach out if you have any questions or want to share what you’ve come up with.
Have questions about this article? Leave a comment below or email me at laura@illustrative.us.

Want To Dig Deeper?
The O.I.C. is filled with behind-the-scenes and walkthroughs for adding visual note taking to your skills and offerings.

AUTHOR | LAURA MATTESON
Laura is a neurodivergent artist, mother, wife, founder of Illustrative with fancy drawing skills and a huge bucket-full of hope and love for humanity.